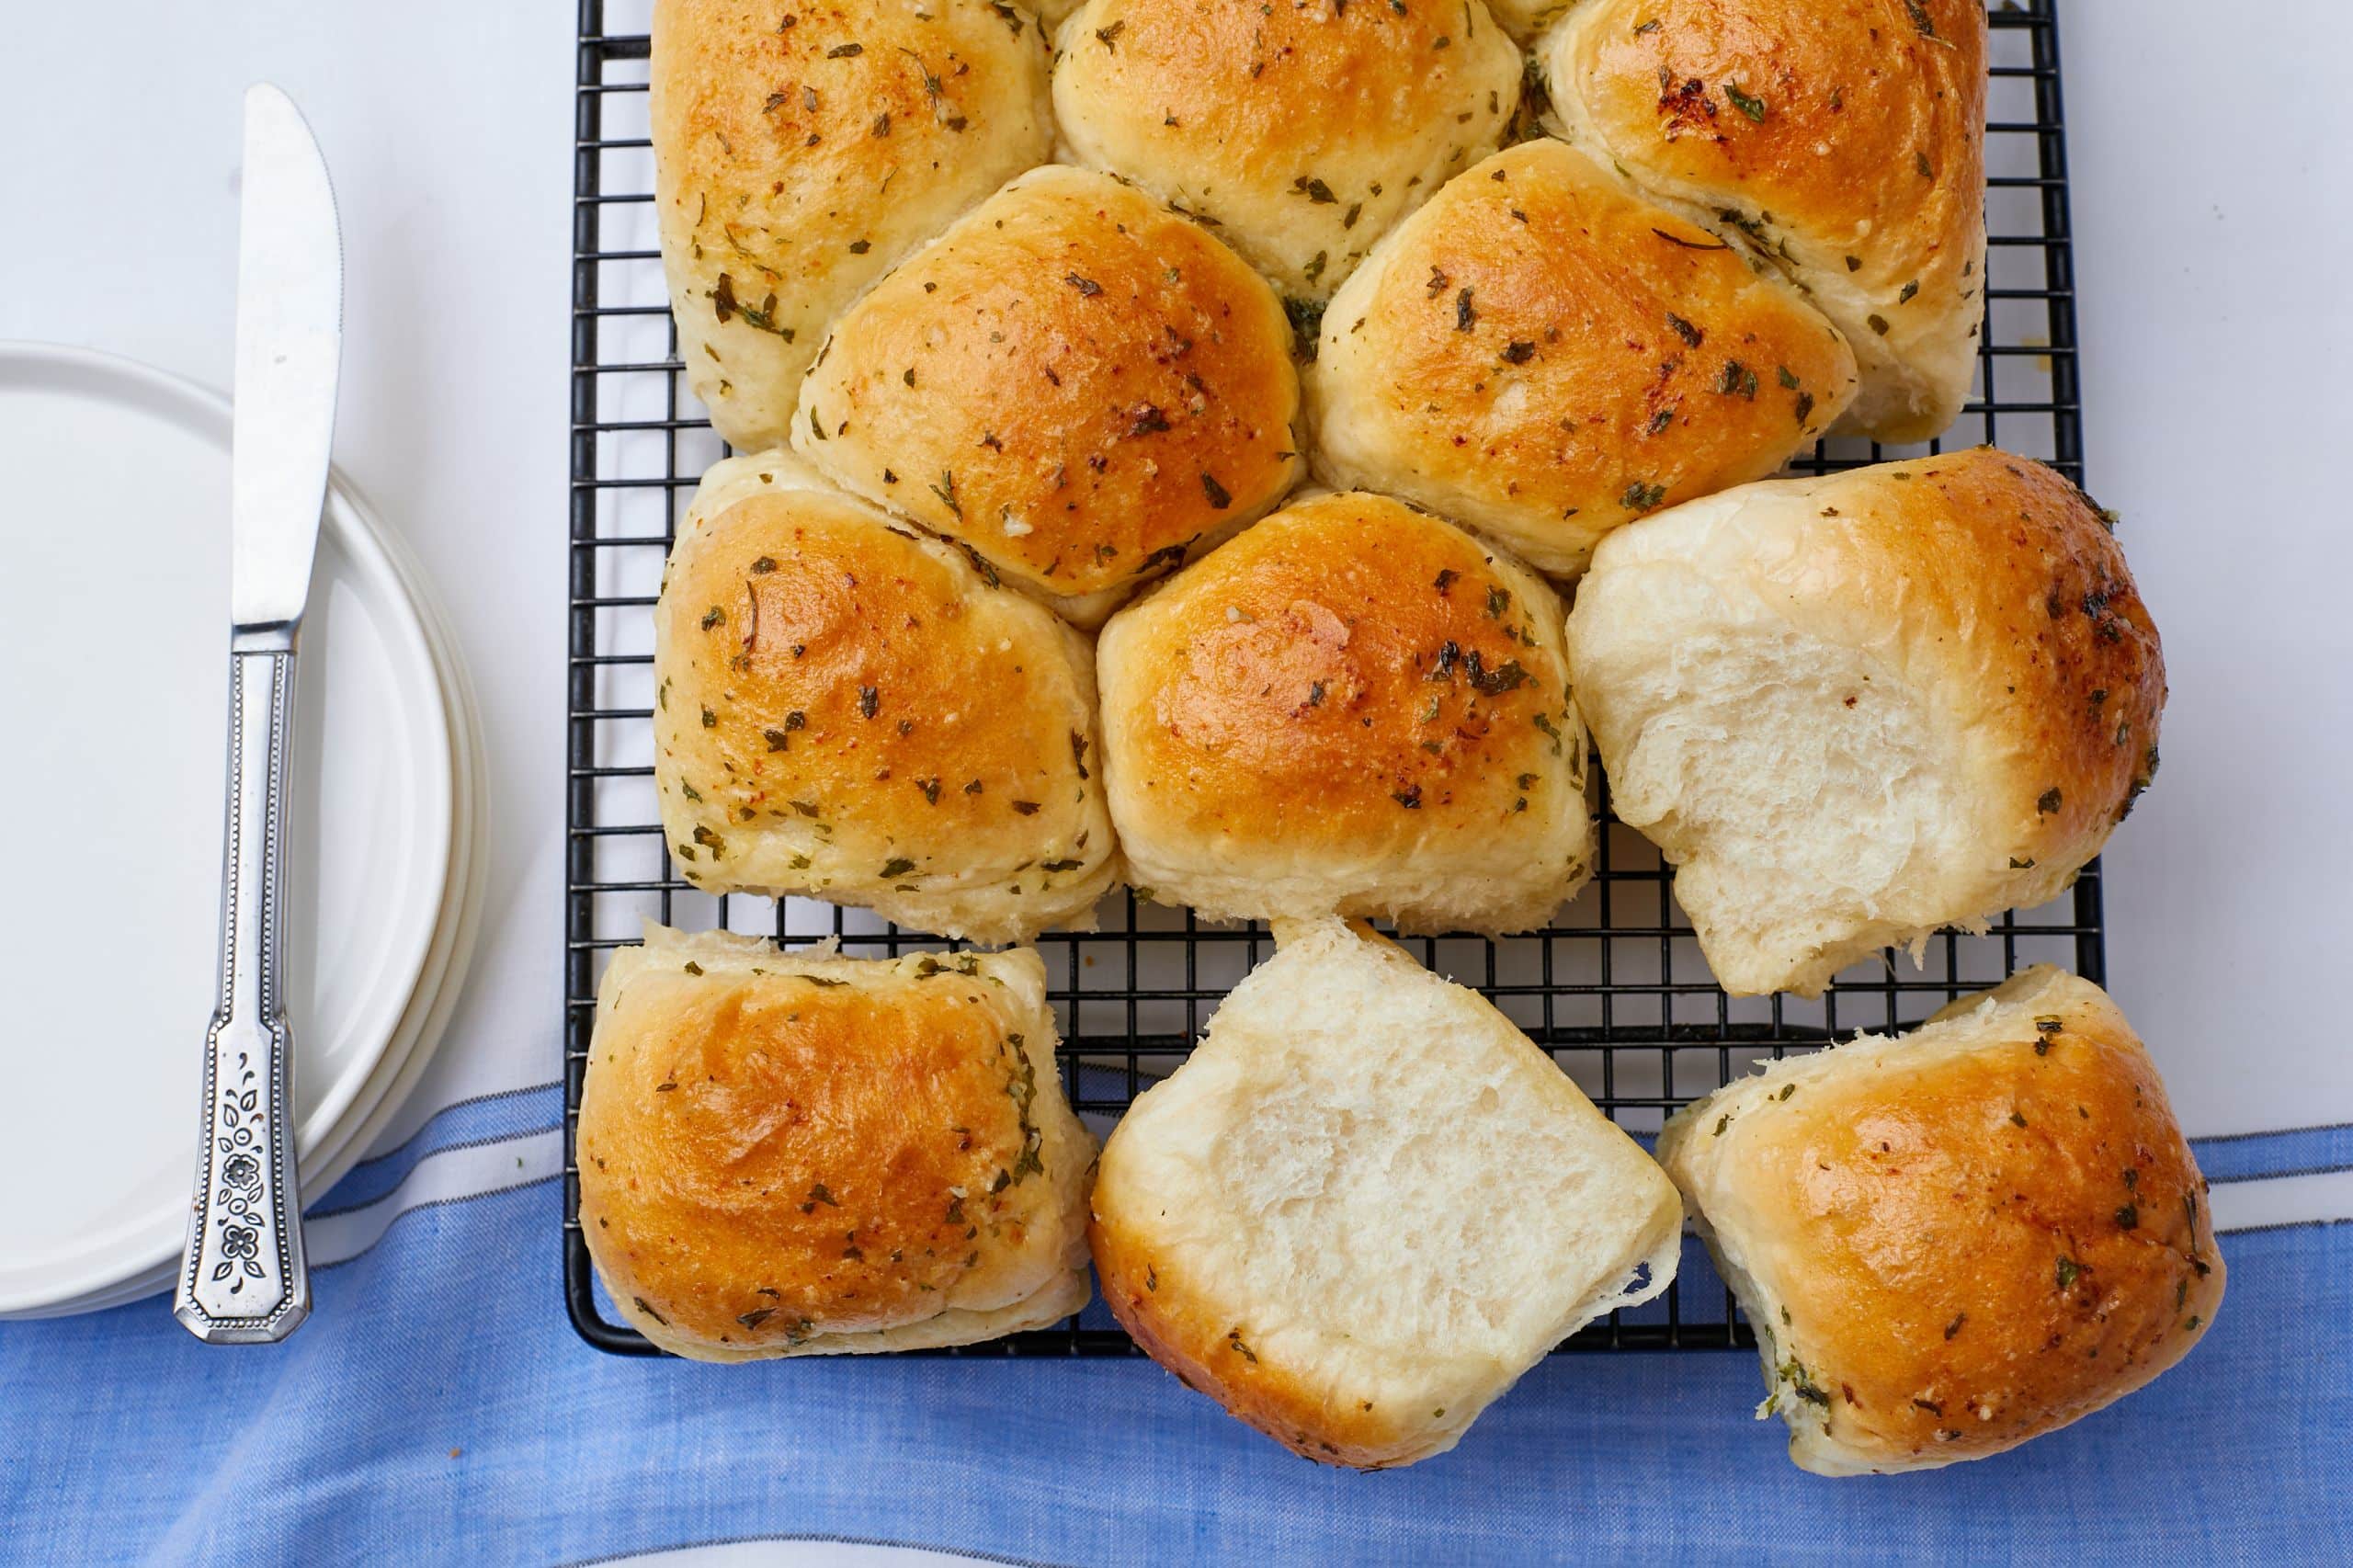
There's nothing quite like the aroma of freshly baked bread wafting through your home. It's a scent that promises comfort, warmth, and deliciousness, instantly transforming any meal into a special occasion. But let's be honest, the thought of homemade bread often conjures images of complex recipes, endless rising times, and hours spent in the kitchen. What if we told you that creating perfectly soft, wonderfully buttery, and slightly sweet dinner rolls could be achieved in about an hour? Yes, you read that right – an hour! This revolutionary recipe for
easy dinner rolls is designed for busy home cooks who crave the satisfaction of baking from scratch without the time commitment. Get ready to impress your family and friends with these irresistible, quick-bake wonders.
Why You Need This 1-Hour Easy Dinner Rolls Recipe in Your Life
Forget those bland, store-bought rolls that often disappoint. This recipe delivers everything you dream of in a homemade roll: a tender, fluffy interior, a delicate golden crust, and a rich, buttery flavor that melts in your mouth. The secret? A streamlined process combined with specific ingredients that work together to accelerate the magic of yeast.
Imagine throwing together a quick weeknight dinner and, almost as an afterthought, pulling a batch of warm, fragrant rolls straight from your oven. Or perhaps you're hosting a last-minute gathering and want to add that extra touch of homemade charm. These
easy dinner rolls are your secret weapon. They are simple enough for beginners, yet consistently yield results that would make seasoned bakers proud. They elevate any meal, from a casual chili night to a holiday feast, offering a fresh-baked experience that truly stands out.
The Secret to Speedy & Soft Dinner Rolls: Key Ingredients & Techniques
Achieving such stellar results in a short timeframe isn't magic; it's a careful combination of readily available ingredients and smart techniques. Let's delve into what makes these quick dinner rolls so special.
Pantry Staples for Perfection
You'll be delighted to find that the ingredients for these delightful rolls are likely already in your pantry. Each plays a crucial role in the speed and quality of the final product:
- All-Purpose Flour: The foundation of our rolls. While bread flour has a higher protein content, all-purpose flour works beautifully here, yielding a tender, not overly chewy, crumb. Its balanced protein level allows for just enough gluten development to create that coveted fluffy texture without requiring extensive kneading.
- RapidRise Yeast (Instant Yeast): This is the superstar of our quick recipe. Unlike active dry yeast, RapidRise yeast can be mixed directly with dry ingredients and typically requires only one shorter rise. This significantly cuts down on overall preparation time, making the 1-hour promise achievable. Tip: Always check the expiration date on your yeast! Expired yeast is the number one culprit for dough that fails to rise.
- Granulated Sugar: Beyond adding a subtle hint of sweetness that makes these rolls so appealing, sugar serves a vital purpose: it feeds the yeast. This helps the yeast activate quickly and efficiently, contributing to the dough's rapid rise.
- Salt: A pinch of salt is crucial for balancing the sweetness and enhancing the overall flavor profile of the rolls. It also plays a role in controlling yeast activity, preventing the dough from over-rising too quickly.
- Warm Milk: The warmth of the milk is essential for activating the yeast. It also moistens the flour, creating a pliable dough, and contributes to the soft, tender texture of the baked rolls. The ideal temperature for warming milk is around 105-115°F (40-46°C) – warm to the touch but not scorching hot, which can kill the yeast.
- Melted Butter: Butter is integral to the rich, luxurious flavor and melt-in-your-mouth tenderness of these rolls. It's incorporated into the dough and also brushed generously over the rolls immediately after baking, adding a beautiful sheen and an extra layer of buttery goodness.
Mastering the Mixing & Kneading
Whether you prefer to mix by hand or with the convenience of a stand mixer, the goal is the same: to develop the gluten in the flour sufficiently to create a soft, elastic dough.
- Stand Mixer: Using a dough hook makes kneading incredibly easy and efficient, typically taking only a few minutes to achieve a smooth, elastic dough.
- By Hand: While it requires a bit more elbow grease, kneading by hand is a therapeutic process. Aim for 8-10 minutes of consistent kneading on a lightly floured surface until the dough springs back when gently poked.
Proper kneading is what gives your rolls their structure and that delightful chew.
The Quick Rise Advantage
The brilliance of this recipe lies in its ability to condense the rising time without compromising on fluffiness. Using RapidRise yeast and warm milk allows the dough to proof effectively and quickly. You'll typically find just one short rise after kneading, or two very quick rises, which is a game-changer for speed.
Step-by-Step Guide to Baking Your Easy Dinner Rolls
Creating these quick dinner rolls is a straightforward process that moves swiftly from mixing bowl to oven. Here’s a general overview of the steps you'll follow:
- Activate the Yeast: Combine warm milk, a pinch of sugar, and the RapidRise yeast. Let it bloom for a few minutes until frothy, confirming the yeast is active.
- Combine Dry Ingredients: In a large bowl, whisk together the flour, remaining sugar, and salt.
- Form the Dough: Add the activated yeast mixture and melted butter to the dry ingredients. Mix until a shaggy dough forms, then turn it out onto a lightly floured surface or into your stand mixer.
- Knead: Knead for 5-7 minutes (stand mixer) or 8-10 minutes (by hand) until the dough is smooth and elastic. It should be soft but not sticky.
- Shape the Rolls: Divide the dough into equal portions (typically 12-16, depending on desired size). Roll each piece into a smooth ball and arrange them in a greased baking pan, leaving a little space between each.
- Quick Rise: Cover the pan and let the rolls rise in a warm spot for about 20-30 minutes, or until they have nearly doubled in size. This short, impactful rise is key to the 1-hour promise.
- Bake: Bake in a preheated oven until golden brown and cooked through. The exact time will vary based on your oven, but typically around 12-18 minutes.
- Butter Brush: The moment they emerge from the oven, brush the warm rolls generously with additional melted butter. This adds flavor, a beautiful sheen, and keeps them incredibly soft.
And just like that, in about an hour from start to finish, you'll have a pan of homemade, golden-brown, and utterly delicious easy dinner rolls ready to grace your table. For a comprehensive guide on making the most of your pantry and other tips for perfect bread, check out our article:
Bake Fluffy, Irresistible Dinner Rolls with Pantry Staples.
Beyond the Oven: Make-Ahead, Storage & Reheating Tips for Your Easy Dinner Rolls
While these rolls are designed for speed, their versatility extends to meal prep and clever storage solutions, ensuring you can enjoy them fresh for days or even months.
Can You Make Them Ahead? Absolutely!
One of the best features of these easy dinner rolls is their make-ahead potential. You can prepare the dough and shape the rolls, then cover them tightly and refrigerate them overnight (up to 24 hours) before their second rise. When you're ready to bake, simply remove them from the fridge, let them come to room temperature (about 30-60 minutes), allow them to proof until doubled in size, and then bake as directed. This allows you to spread out the prep and have fresh rolls ready for baking on demand.
Storing Your Homemade Goodness
Proper storage ensures your hard work doesn't go to waste.
- Room Temperature: Once completely cooled, store your dinner rolls in an airtight container or a zip-top bag at room temperature for up to three days.
- Refrigeration: To extend their freshness, you can store them in the refrigerator for up to a week.
Reheating for "Just Baked" Warmth
There's no need to settle for cold rolls. Reheating brings them back to their initial glory.
- Oven Method: For the best results, reheat rolls in a preheated oven at 300°F (150°C) for about 10 minutes, or until warmed through. This gently re-crisps the exterior and re-softens the interior.
- Microwave Method: For a quicker option, microwave individual rolls for 30-45 seconds. Be careful not to overcook, as this can make them tough. A quick trick: place a small cup of water next to the rolls in the microwave to add moisture and prevent drying out.
Freezing for Future Feasts
Planning truly ahead? You can freeze your easy dinner rolls both baked and unbaked.
- Freezing Baked Rolls: Once the rolls have completely cooled, place them in a single layer in a zip-top freezer bag, squeezing out as much air as possible. They can be frozen for up to three months. To enjoy, thaw them in the refrigerator overnight or at room temperature, then reheat in the oven.
- Freezing Unbaked Dough: This is a fantastic option for ultimate convenience. After shaping your dough into rolls (before the second rise), place them on a baking sheet and freeze until solid, typically overnight. Once frozen, transfer the dough balls to a zip-top freezer bag. They can be stored in the freezer for up to three months. When you're ready to bake, take the frozen dough balls out, place them on a greased baking sheet, and let them thaw and rise for about 4-5 hours at room temperature (or longer if your kitchen is cool) until doubled in size. Then, bake as directed.
To become a master of meal prep with your rolls and learn more advanced tips for freezing and thawing, don't miss our detailed guide:
Master Make-Ahead Dinner Rolls: Freeze, Thaw & Reheat Guide.
These quick 1-hour dinner rolls are more than just a recipe; they're an invitation to bring the joy and comfort of homemade bread into your busy life with minimal fuss. Soft, buttery, and utterly delicious, they prove that you don't need to spend hours in the kitchen to create something truly special. So go ahead, gather your ingredients, and in just 60 minutes, prepare to savor the unparalleled taste of freshly baked perfection. Your family (and your taste buds!) will thank you.