The Secret to Effortless Entertaining: Why Make-Ahead Dinner Rolls Are Your New Best Friend
Imagine this: the aroma of warm, buttery, freshly baked bread wafting through your home, yet you’ve barely lifted a finger an hour before dinner. This isn't a fantasy; it's the beautiful reality of mastering make-ahead easy dinner rolls. Whether you’re preparing for a holiday feast, a busy weeknight meal, or simply craving that comforting homemade touch without the last-minute rush, learning to freeze, thaw, and reheat your dinner rolls is a game-changer. It transforms the delicious experience of homemade bread from an occasional treat into an accessible everyday luxury.
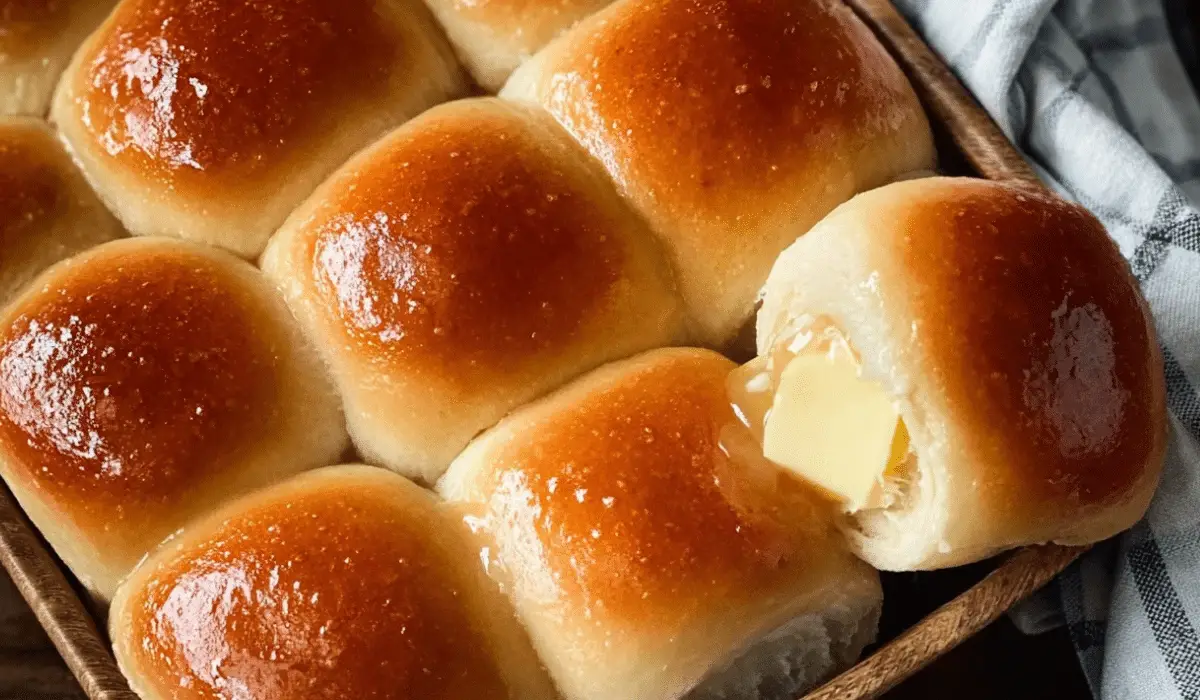
There’s an undeniable charm to warm bread straight from the oven – that golden crust, the soft, fluffy interior, and just a hint of sweetness melting in your mouth. Many shy away from baking their own rolls, assuming it’s a time-consuming endeavor. But what if we told you that with a little planning and smart storage techniques, you can enjoy that fresh-baked goodness whenever you desire? This comprehensive guide will walk you through everything you need to know about preparing, freezing, and perfectly reheating your homemade masterpieces, ensuring you always have a batch of irresistible easy dinner rolls ready to impress.
Crafting Your Perfect Easy Dinner Rolls: The Foundation
Before we dive into the make-ahead magic, let’s talk about what makes truly exceptional dinner rolls. The best recipes often focus on simplicity and quality ingredients, yielding rolls that are fluffy, rich, and utterly irresistible. Many popular recipes boast quick prep times, with some promising soft and buttery results in as little as an hour.
Essential Ingredients for Fluffy Rolls
Creating delicious dinner rolls often requires just a handful of pantry staples. Understanding the role of each ingredient is key to success:
- All-Purpose Flour: The backbone of your rolls, providing structure. While bread flour can be used for a chewier texture, all-purpose is perfect for soft, classic rolls.
- Yeast: The magical leavening agent that makes your rolls rise and become wonderfully airy. RapidRise (instant) yeast is often preferred for quicker recipes, while active dry yeast works just as well with a slight adjustment in activation. Always check the expiration date to ensure your dough will rise!
- Sugar: Not just for sweetness, sugar feeds the yeast, helping it activate and produce gases for that perfect rise. A hint of sweetness also enhances the flavor profile.
- Salt: Essential for balancing the flavors and controlling yeast activity. Don't skip it!
- Milk: Warm milk activates the yeast, adds moisture, and contributes to a softer crumb. Ensure it's warm (around 105-115°F or 40-46°C), not hot, to avoid killing the yeast.
- Butter: The secret to rich flavor and a tender texture. Melted butter is often incorporated into the dough and brushed on top for that iconic golden sheen.
For more detailed insights into these core ingredients and how they contribute to delicious homemade bread, be sure to check out our guide on Bake Fluffy, Irresistible Dinner Rolls with Pantry Staples.
The Baking Process: Quick Tips for Success
Most easy dinner rolls recipes follow a similar flow:
- Activate Yeast: Combine warm milk, sugar, and yeast. Let it sit until foamy.
- Mix Dough: Add flour, salt, and melted butter. Mix until a shaggy dough forms.
- Knead: Knead by hand or with a stand mixer until the dough is smooth and elastic.
- First Rise (Proofing): Allow the dough to rise in a warm place until doubled in size. This can take 30-60 minutes depending on the recipe and ambient temperature.
- Shape Rolls: Divide the dough and shape into individual rolls.
- Second Rise: Let the shaped rolls rise again until puffy.
- Bake: Bake until golden brown.
Even though the process is straightforward, the idea of doing it all in one go can be daunting. This is where the beauty of making ahead comes in.
Master the Make-Ahead Magic: Freezing Dinner Rolls
The ability to freeze dinner rolls, whether baked or as dough, is a game-changer for busy hosts and home bakers. It allows you to spread out the workload and enjoy "fresh" bread with minimal effort.
Freezing Fully Baked and Cooled Rolls
This is arguably the simplest method for make-ahead convenience. Perfect for when you've baked a large batch and want to save some for later, or if you simply want to have ready-to-reheat rolls on hand.
- Cool Completely: This is crucial. Warm rolls create condensation in the bag, leading to soggy, freezer-burnt bread. Allow rolls to cool completely on a wire rack for several hours.
- Package Properly: Once cooled, place the rolls in a heavy-duty, zip-top freezer bag, squeezing out as much air as possible. You can also use an airtight freezer-safe container. For extra protection against freezer burn, you might consider wrapping individual rolls in plastic wrap before bagging them, though this isn't strictly necessary for short-term storage.
- Label and Date: Always label your bags with the date of freezing. This helps you keep track of freshness.
- Freeze: Store in the freezer for up to 3 months. Beyond this, the quality may start to diminish, though they will still be safe to eat.
Chef's Insight: Freezing baked goods works best when they are at their peak freshness. If you're planning to freeze, bake the rolls just until golden, avoiding over-baking, which can lead to dry rolls upon reheating.
Freezing Unbaked Shaped Dough
For the true "fresh-baked" experience without the full commitment, freezing the dough before its second rise is an excellent option. This method yields rolls with the texture and aroma of freshly baked bread.
- Shape the Dough: Follow your chosen recipe to mix, knead, and allow the dough to complete its first rise. Then, divide and shape the dough into individual rolls as usual.
- Flash Freeze: Arrange the shaped dough balls on a baking sheet lined with parchment paper, ensuring they don't touch. Place the baking sheet in the freezer and let the dough freeze solid, typically overnight or for at least 4-6 hours. This "flash freezing" step prevents the rolls from sticking together once bagged.
- Transfer to Storage: Once frozen solid, transfer the individual dough balls into a heavy-duty, zip-top freezer bag or an airtight freezer-safe container. Remove as much air as possible.
- Label and Date: Again, label with the freezing date.
- Freeze: Store in the freezer for up to 3 months.
Baker's Tip: For optimal results, ensure your dough is slightly under-proofed before freezing. Over-proofed dough may not rise well after thawing.
Thawing & Reheating Your Make-Ahead Dinner Rolls for Perfection
The art of reheating is just as important as the art of baking. Proper thawing and reheating ensure your rolls retain their soft texture and delicious flavor.
Reviving Frozen Baked Rolls
When you're ready to enjoy your pre-baked rolls, here's how to bring them back to life:
- Thaw:
- Refrigerator Method (Recommended): Transfer the frozen rolls to the refrigerator the night before you plan to serve them. This slow thawing helps maintain texture.
- Countertop Method: For quicker thawing, place the rolls on a plate at room temperature for 1-2 hours, depending on their size.
- Reheat (Oven is Best!):
- Oven (Preferred Method): Preheat your oven to a moderate temperature (around 300-325°F or 150-160°C). Arrange the thawed rolls on a baking sheet. For extra moisture and to prevent drying, you can lightly mist them with water or cover them loosely with aluminum foil. Reheat for about 10-15 minutes, or until warmed through and fragrant. A brush of melted butter after reheating adds a fresh-baked touch.
- Microwave (Quick but Cautious): If you're in a hurry and only reheating a few rolls, the microwave can work. Place 1-2 rolls on a microwave-safe plate and heat for 20-45 seconds. Be careful not to overheat, as this can make them tough and chewy. This method is best for immediate consumption rather than for a whole batch.
- Steam (Enhanced Softness): For exceptionally soft rolls, you can briefly steam them. Place thawed rolls in a steamer basket over simmering water for 3-5 minutes. This adds moisture and restores tenderness. Finish with a quick oven reheat if you desire a slightly crisper exterior.
Bringing Frozen Dough to Life
This method requires a bit more patience but rewards you with rolls that taste truly fresh from scratch:
- Thaw and Rise (Second Proof): Remove the frozen dough balls from the freezer and arrange them on a baking sheet lined with parchment paper, leaving ample space between each roll as they will expand significantly. Cover the baking sheet loosely with plastic wrap or a clean kitchen towel.
- Patience is Key: Allow the dough to thaw and rise at room temperature for approximately 4-5 hours, or until they have doubled in size. The exact time will depend on your room temperature; a warmer environment will speed up the process.
- Bake as Directed: Once the rolls have fully risen, bake them according to your original recipe's instructions. They will emerge golden, fluffy, and with that unmistakable aroma of freshly baked bread.
Pro Tip: To create a slightly warmer proofing environment if your kitchen is cool, place the covered baking sheet in a *turned off* oven with the light on. The warmth from the oven light can help the dough rise more efficiently.
Storing Leftover Freshly Baked Rolls (Short-Term)
Even if you're not freezing, knowing how to store freshly baked rolls for a few days can prolong their deliciousness. Keep your rolls in an airtight container or a zip-top bag at room temperature for up to three days. For slightly extended freshness, you can store them in the refrigerator for up to a week, though they might dry out a bit. A quick reheat in the oven (300°F/150°C for 5-7 minutes) will help restore their tenderness and warmth.
Conclusion: Your Journey to Effortless Homemade Rolls
No longer do the demands of time stand between you and a basket of warm, easy dinner rolls. By embracing the simple techniques of freezing baked rolls or unbaked dough, you unlock a world of convenience and culinary delight. Imagine the joy of pulling a batch of dough from the freezer, letting it rise, and baking it to perfection, or effortlessly reheating ready-made rolls for an impromptu gathering. These make-ahead strategies ensure that whether it’s a holiday feast or a simple family dinner, the comforting taste of homemade bread is always within reach. So go ahead, bake an extra batch, embrace the freezer, and let the aroma of fresh rolls fill your home more often!
